Thursday, January 31, 2013

Bedroom #4

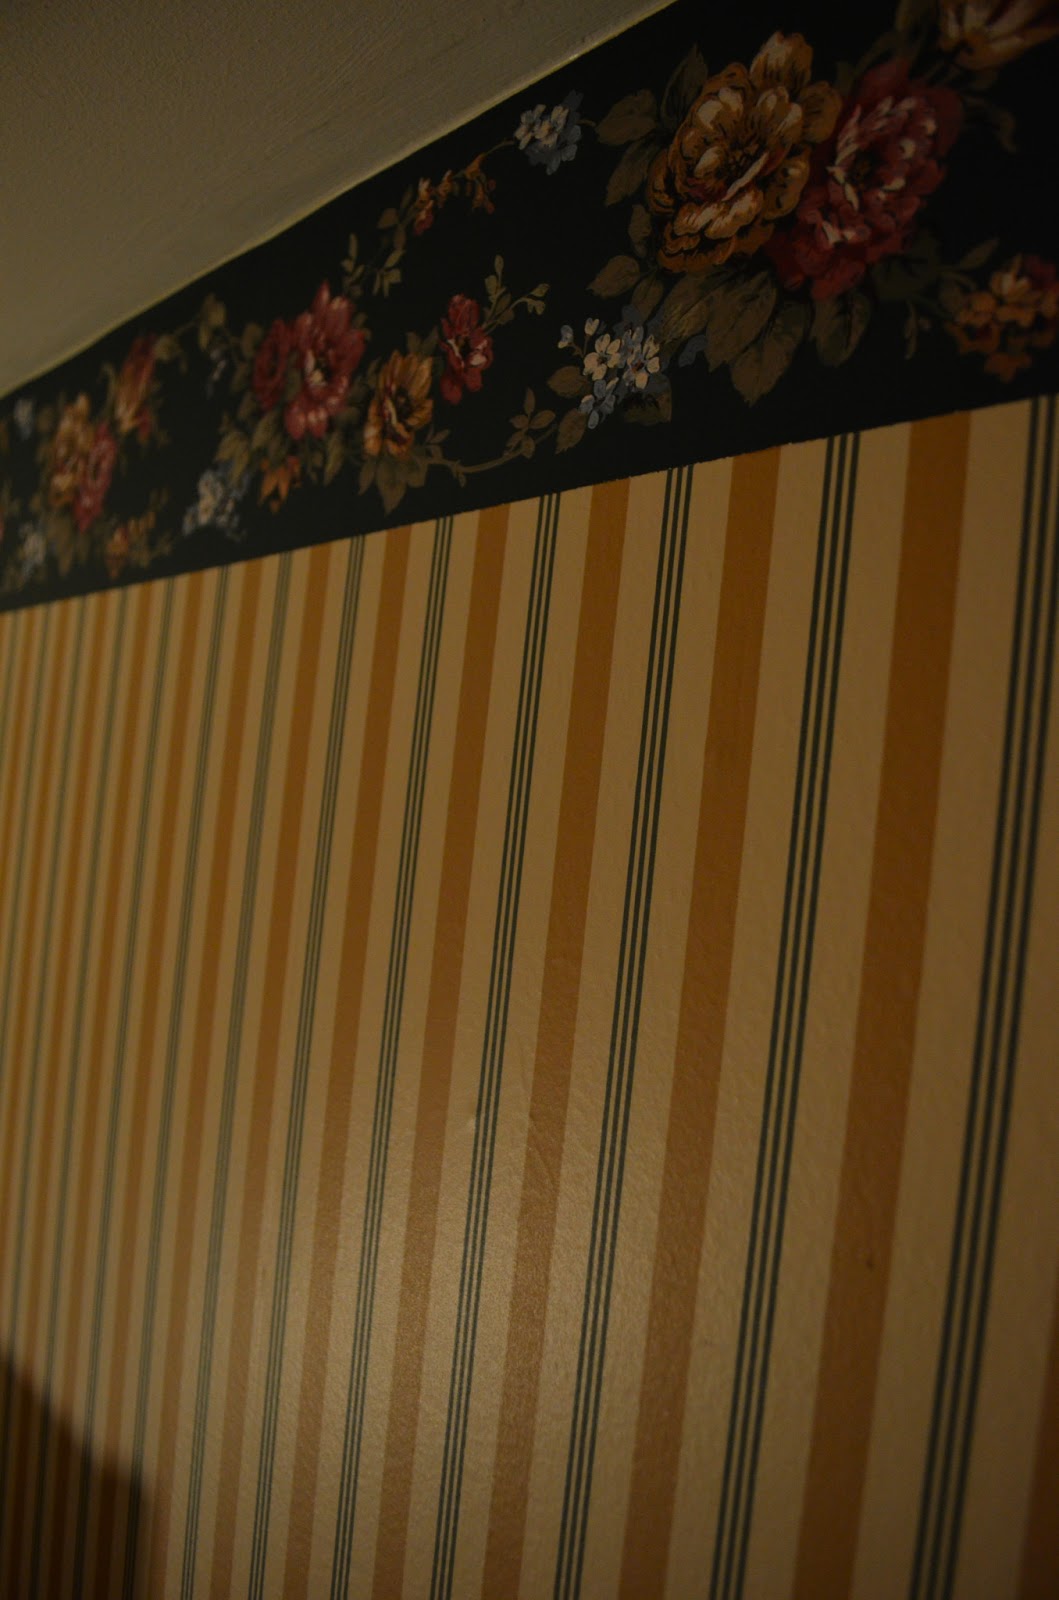
So I finished my bathroom project early and got to start de-wallpapering again.  I sarcastically say Yay!  But this is one of two rooms I have left to dewallpaper.  Yay!! (with lots of enthusiasm)


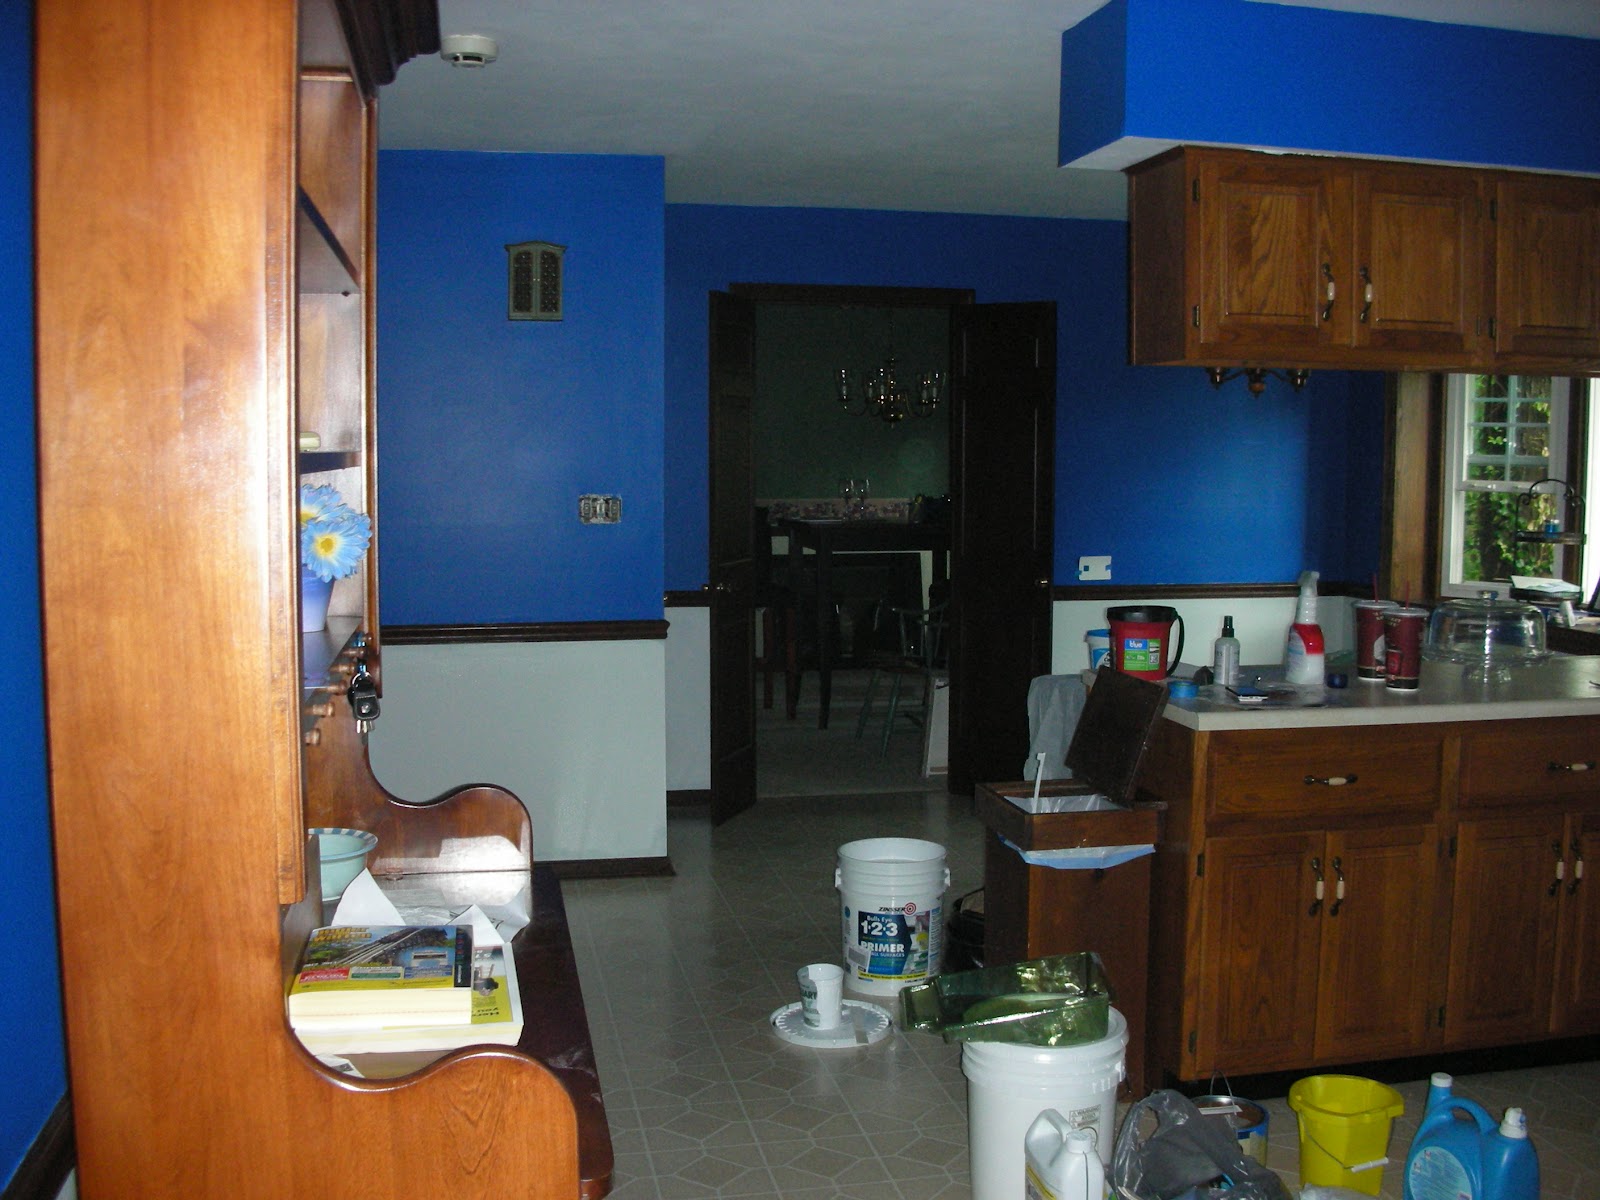
This is what the room looked like when I started.  All of the materials you see in this room are for my Master Bathroom Project.  Why not store all of your building supplies in an empty bedroom.

I originally gave myself four weeks to complete this project (based on how fast other rooms had come down) .  After Day 1 I decided it would take me two weeks.  At the end of Day 2 I decided i would done in the next two days.  And I kept to my schedule.  I started taking down wallpaper on Tuesday and finished on Friday.


After taking down the wallpaper came the repertoire of patching holes, priming baseboards and patch jobs, paint trim, paint ceiling, and last but not least paint the walls.


Here is the finished product.  The paint color is Colonial Woodlawn Gray.


I would like to get a new bedspread (even though this does go well with it).  I want to go for a white bedspread and accent colors.  I am thinking yellow.

Maybe use some of the ideas from the link below (and Pinterest of course)!      :)
Gray, White and Yellow Bedroom Ideas


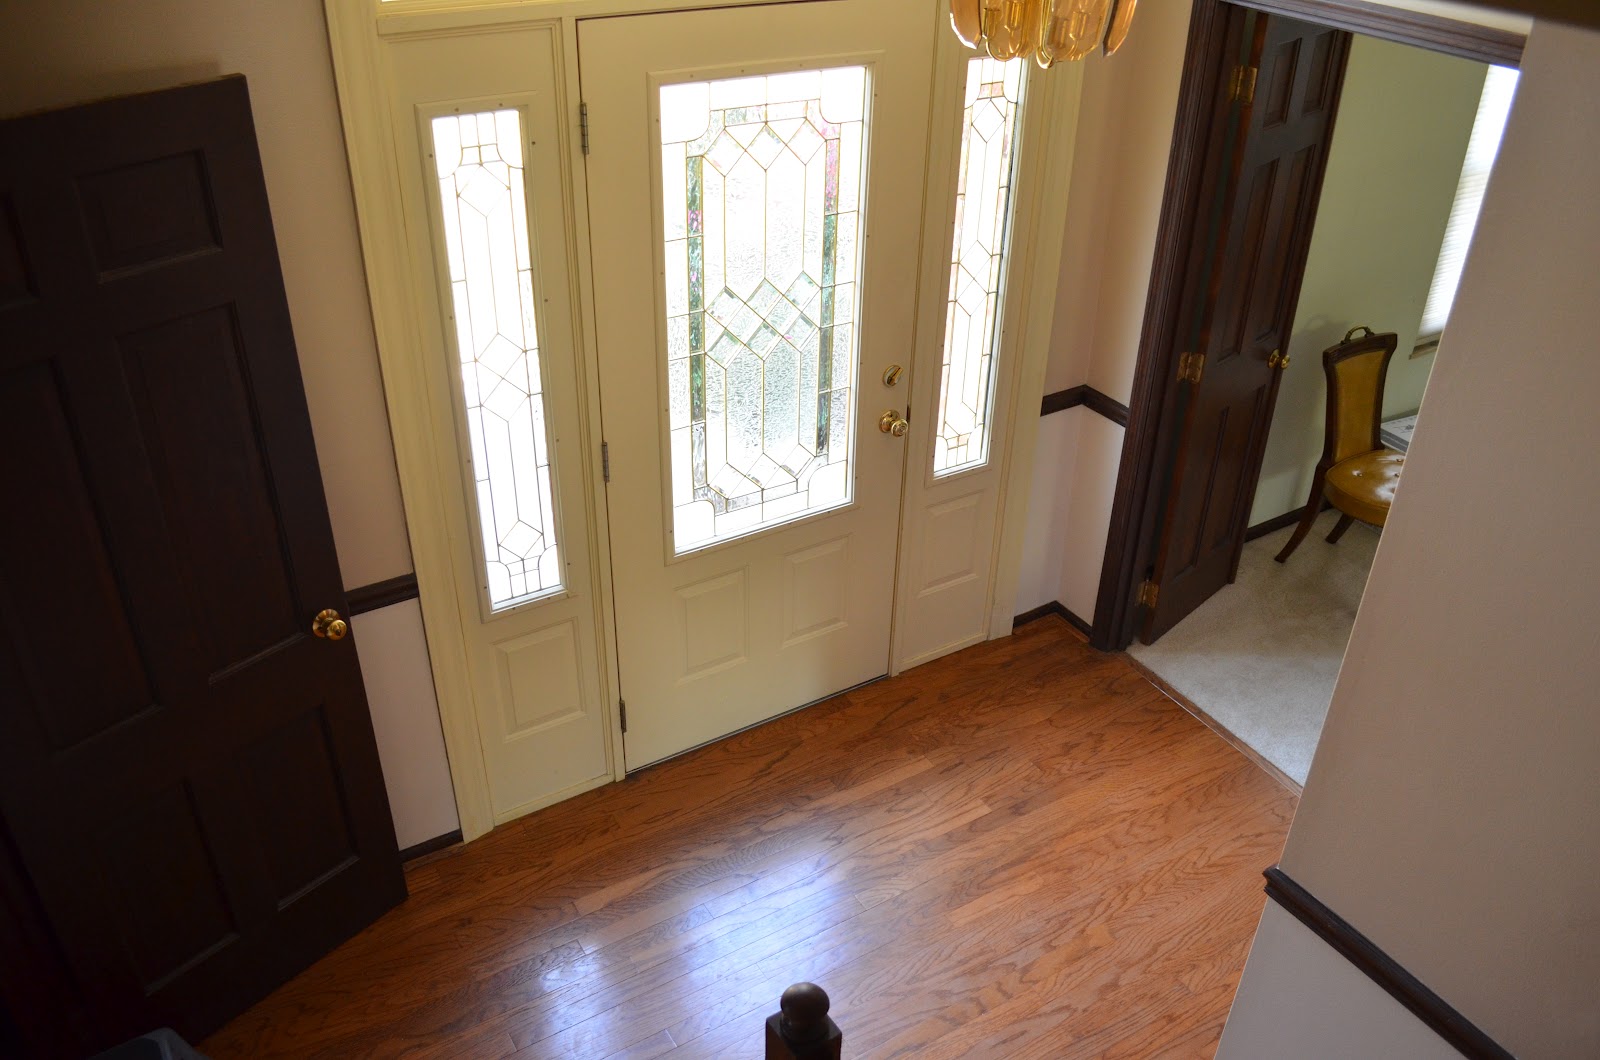
And of course a side by side comparison.

Monday, January 21, 2013

Guest Bathroom

So I decided to get one of my Next Five things done this weekend.  So I finished the Guest Bathroom.  This is what it looked like before.

I decided not to dewallpaper the walls because they had not been primed (a.k.a. the wallpaper would come off and take the wall with it).  I caulked some seams and set off.


 I used Valspar Bonding primer due to the fact it dries in 15 minutes.  This would not give the wallpaper time to come off the wall. This is also the same primer I used to paint the kitchen cabinets.  It is the consistency of glue and sticks to everything. Here is what it looked like after one coat.


 I fixed the walls and then put in the new shower curtain.  It is a curved double rod.  So you can separate the plastic curtain from the cloth one or you can use the second rod to hang your towel off of (instead of putting it on the floor).  It was painful to put in.  Thank God I had our handyman in the other room who gave me awesome anchors and let me borrow his drill to screw one side into a stud.
 Then I painted another layer of primer.  This time I primed with a Valspar Stain Blocking Primer. I was hoping this would hide the pattern of the wallpaper.  It did!
Next was the actual painting of the room.  I painted it with Valspar Sage Morsal in Satin.  It is beautiful.  I put two coats on the room.


Me during the painting process!


My next project in the bathroom was to update the mirrors.  I primed the inside of them twice (with the Bonding Primer).  It gave it a clean updated look.  I then painted the trim in a silver color.  I had to use two brushes- one to get it in the grooves and the other one for the flat parts.  It was really easy to use.  I did two coats.


There is such a difference!


Here is the finished product!  Now I just need to decorate it!


 Again the before and after.

Sunday, January 20, 2013

The Next Five Projects (Jan, Feb, March)

I have become a home renovation addict (thanks mom!).  I truly enjoy planning how to make this the house of our dreams.  With the help of a few of my favorite blogs ( Ugly Duckling House)  and  DIY Diva ) and Pinterest I am constantly making a list of something to do. So I have decided to keep a list of the Next Five Projects I will be working on (like the ladies in the blogs above). 

Once I get these five completed (which if all of my plans come together I should be done by my Spring Break which is March 22), I will update my list.

1) Fix My Closet
 In December we had to change the stems in the guest bathroom tub.  Unfortunately to change them they had to cut a fairly large hole in my closet. And I have not fixed it yet.  I also need to add some additional supports to the  clothes rod (I may have too many clothes).

2) Paint the Guest Bathroom
But Michelle, are you going to take down the wallpaper? No, I am not.  They did not prime beneath the paper making the repair work more work than just painting over it.  Wish me Luck!


3) Dewallpaper Bedroom #4
This is a fairly large bedroom (as large as the master bedroom actually).  It has one layer of wallpaper (thank God) and has been painted underneath.  So hopefully it should come off easily.


4) Paint Bedroom #4

After de-wallpapering the bedroom above I will paint it.  I haven't decided what color yet, but I have a few different colors in mind.

5) Dewallpaper Bedroom #3
This would be the last room to de-wallpaper (Hallelujah!).  It also has one layer of wallpaper and has been painted underneath so again, I hope that it will be easier to get off than some of the other rooms.

Saturday, January 19, 2013

May Your Days Be Merry and Bright.....


Oh wait! Christmas is over. But it feels like Christmas to me.  I finally finished painting the doors and trim.  Our house is so much brighter!  The trim and doors are painted in the majority of the house!  The only places that are left are the two bedrooms that have not been painted yet and the family room.  That room needs drywall on the wall before the trim can be painted ( I hate paneling).

During the process I tried many different primers because I did not want to use oil based primer. We had a bad experience using it the kitchen (the fumes from the oil paint were smelt when we used the oven, dryer and ruined all of the food in the freezer).  I then painted the trim with a Semi- Gloss Du Jour.  In the end it took two solid coats of both primer and paint w/ primer to cover the darkness.

Here are some comparisons of the room before and after white paint! In my opinion, the house looks 100 times better and  the white paint really brings out all of the paint colors.


I will paint the crown molding later (When I have time to be careful or paint it/ repaint the top of the room).


Saturday, January 12, 2013

House Goals 2013

It has taken me a few weeks, but I have decided to have New Year Goals for our house.  It took me a little bit of time because I don't want to overwhelm myself with things to do.  Here is my complete list for 2013.


No Wallpaper
This is a pretty obvious goal.  If you have talked with me at all about wallpaper, you have heard that I want it to be out of our house by the time we have lived here a year.  It will be a lot of work, but I know I can do it.  I have three rooms to go.  One room I am going to cheat on by just painting over the wallpaper (I have to do this because there is no primer on the wall making the process of taking wallpaper off difficult).

The other two rooms are the bedrooms at the other end of the hall.  Luckily they have both been painted before and only have one layer of wallpaper on the wall.


We donated the beds and desk because we did not need the extra beds in our house.  Don't worry we still have a bed for each bedroom upstairs.


No Paneling Upstairs


Since this is the room we spend most of our evenings in, I would like this to be completed.  We want to take down the paneling, white wash the fire place (will look so cool), mount the TV above the fireplace, paint the bookshelves, etc.... It will look like a completely different room!


Begin Decorating

We have spent most of our home improvement on paint and other home remodeling things.  But I want to make a point to look at housewares and shopping at Home Goods.  Pictures and nick-knacks make a house a home.  And I want to make this house warm and inviting.


Start A Garden
 I am going to start our first garden under the kitchen windows to the corner of the house.  This fall Chris and I tore our all of the bushes that lined the back of the house (not the one on the corner).  They were invasive plants that were growing up the brick of the house and started to attach to the house.  I love gardening and I am excited to spend the summer outside rather than inside dewallpapering. :)


This is what I would like it to look like eventually (Or at least have those plants in my garden).