


We could have just fixed the shower, but why have a beautiful shower with a very outdated bathroom. For
Bathroom When We Moved In


Bathroom After We De-Wallpapered and Painted


After many quotes to get our bathroom done, we choose to go with Mark Prater (he works in the school district I work in). It is nice because he can work around our schedules and does not mind when I ask him how to do things. :) It took him a longer than planned but her finally finished. Here is the progression of the bathroom being done.

At least in the shower.


I painted the trim and door white!


 The tile is finally finished!
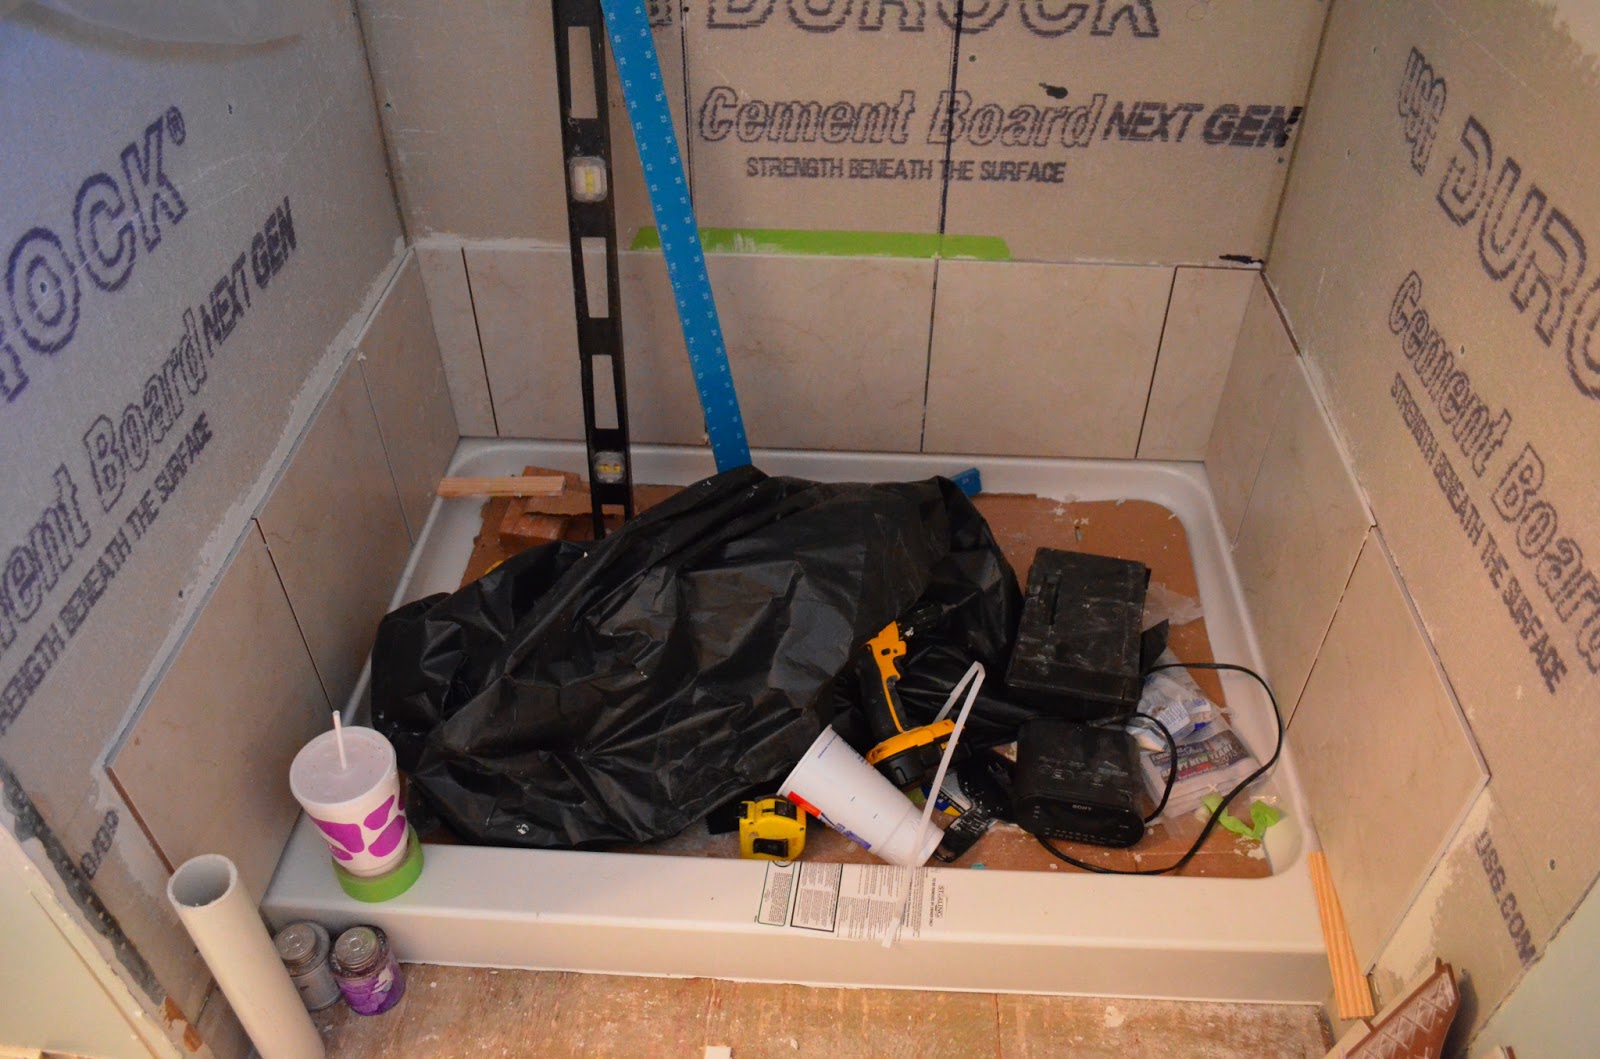
Here is how you put in the shower insert.


The next step was to take all of the original bathroom pieces out (vanity, toilet, and mirror)


It is hard to see but the only thing that was stopping the water from draining was a calcium deposit and the bottom (no wonder the drain drained so slowly...).


When the toilet and register came off, we found these two pieces of wallpaper. Can you tell they are from the 70's?
 I then primed and painted the walls. We decided to go with a different color on the walls than the light blue (Azure Snow to be exact). I think it will go well with all of the other things in the bathroom. This is the same color that is in the half bathroom downstairs. I put up the new light so Mark could continue to work when he came over at night.


The next step is the flooring. We picked this awesome tile that looks like wood floors. I sealed the grout. This will prevent water, dirt and oil (from skin or bathing products) to get into the grout. According to the can you should seal it every 3-5 years. It was really easy to do. You just spray it on, leave it for 15 minutes and wipe of any excess.


The last step was all of the things that make the bathroom beautiful. We bought a new vanity, mirror, toilet and shower doors. The toilet is one of the new-fangled ones that have two buttons on the top to save on water. We'll let you know how well it works.


Here are the Before and After


One of the least expensive, yet immediately saves you money, home improvements is a hand held bidet sprayer.. The Bidet Sprayer gives you superior control and water volume and if the bathroom was not designed to allow for a bidet(the majority of them) it offers the convenience of installation on the existing toilet AND you don't have to get up and move every time! You will pay for it many times over in toilet paper savings which makes this a very green thing to do. Available at www.bathroomsprayers.com .
ReplyDeleteUh-oh! It must’ve been frustrating to redo the master bathroom. But, at least, it’ll give you the chance to design it and make it look the way you want it. Indeed, it’s beautiful. No more ugly wall paper! ->Randell Jeffries
ReplyDeleteBuying houses with years old pipes can be a burden someday, that's why I always make sure to have someone check them out before it turns bad. It's somehow a good thing too because you get to remodel your bathroom that you've been wanting for years, right? You did an awesome job on your new bathroom!
ReplyDeleteGabrielle Jeromy
Gabrielle,
ReplyDeleteThanks! We love our new bathroom and it was nice to get it updated. I would have loved to buy hardwood floors instead....
It is a good idea to have people check it out. Our home inspector was horrible and he missed major things in our house.
Michelle
It’s bad that the shower crack was not covered in your home warranty. But, at least, it gave you a chance to totally remodel your bathroom at your own expense. And it turned out beautifully. If you want decorations on the wall, I suggest you to put wall art there. You can also add another cabinet or medicine cabinet above the toilet bowl. What do you think? ->Elements Home Remodeling
ReplyDelete